Importing data
Bring a spreadsheet in, tell Cognify which of its headers matches which of your columns, and choose the section the rows land in.
Before you import
Import maps your file's headers onto the panel's columns, so the panel should already have the columns you are about to fill. Create them first, see Columns, then import.
Two things worth doing to the file first:
- One header row. Cognify reads the first row as the header names.
- Consistent values in choice columns. If a column will become a Status or Dropdown, make sure the spreadsheet uses the same spelling every time.
The steps
- Panel toolbar → Import.
- Drop the file in, or browse for it.
- Choose the target section: this is where every imported row will land.
- Map Column, match each spreadsheet header to a panel column. Anything you leave unmapped is ignored.
- Import.
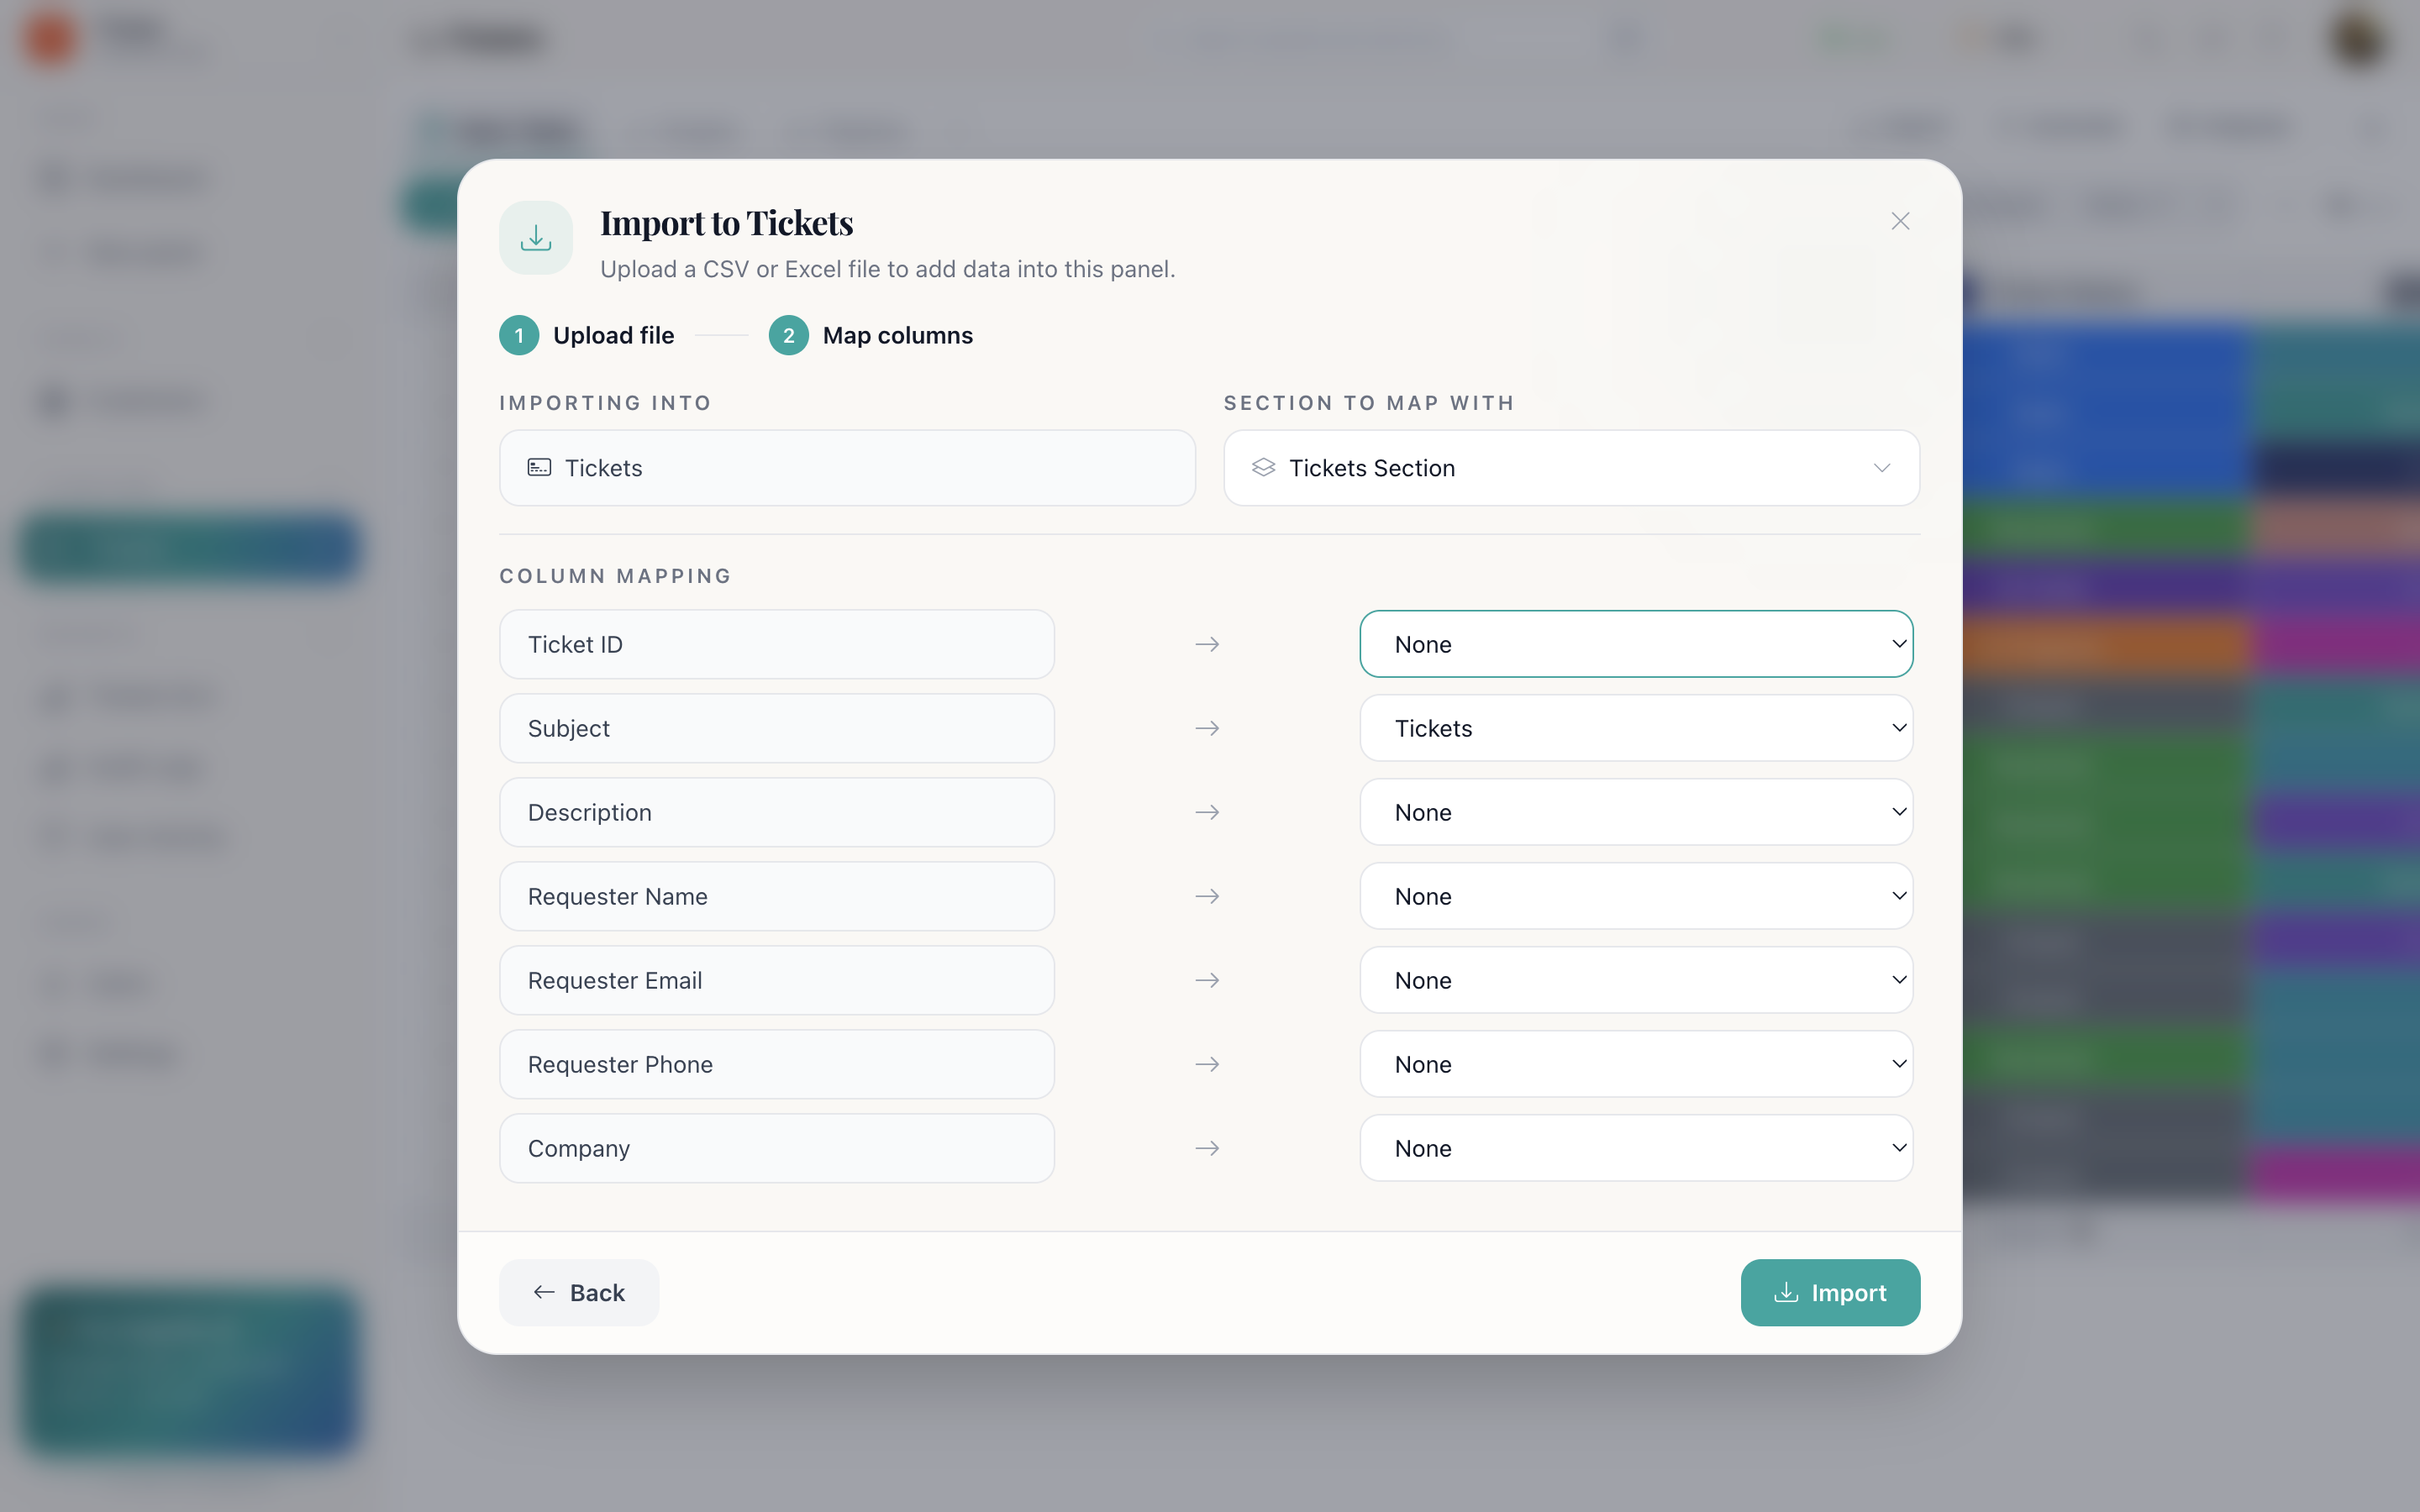
After the import
Two things are worth checking on a large import:
- Row count and totals. If they look off, run section ⋯ → Calibrate to recount from scratch.
- Duplicates. Turn on Duplicates in the toolbar to see whether the import repeated records you already had. See Rows and the table.
Automations and imports
Imported rows are created rows, so any when a row is created automation will fire for every one of them. On a 5,000-row import that means 5,000 notifications if you have a notify-owner recipe running.
If that is not what you want, remove the automation, import, then put it back.
Other ways in
Import is for bulk history. For ongoing arrivals, use:
Public forms
Someone fills in a form on the open web and the answer arrives as a row.
On a ticketing panel, incoming mail opens a ticket automatically.
Chat channels
A conversation on any connected channel becomes a row.
How do I…
Import a spreadsheet: Panel toolbar → Import → drop a file → choose the target section → Map Column → Import.
Check on a running import: Navbar → Background tasks.
Import into a panel that has no matching columns yet: Add the columns first, then import. Unmapped headers are skipped.