Panels
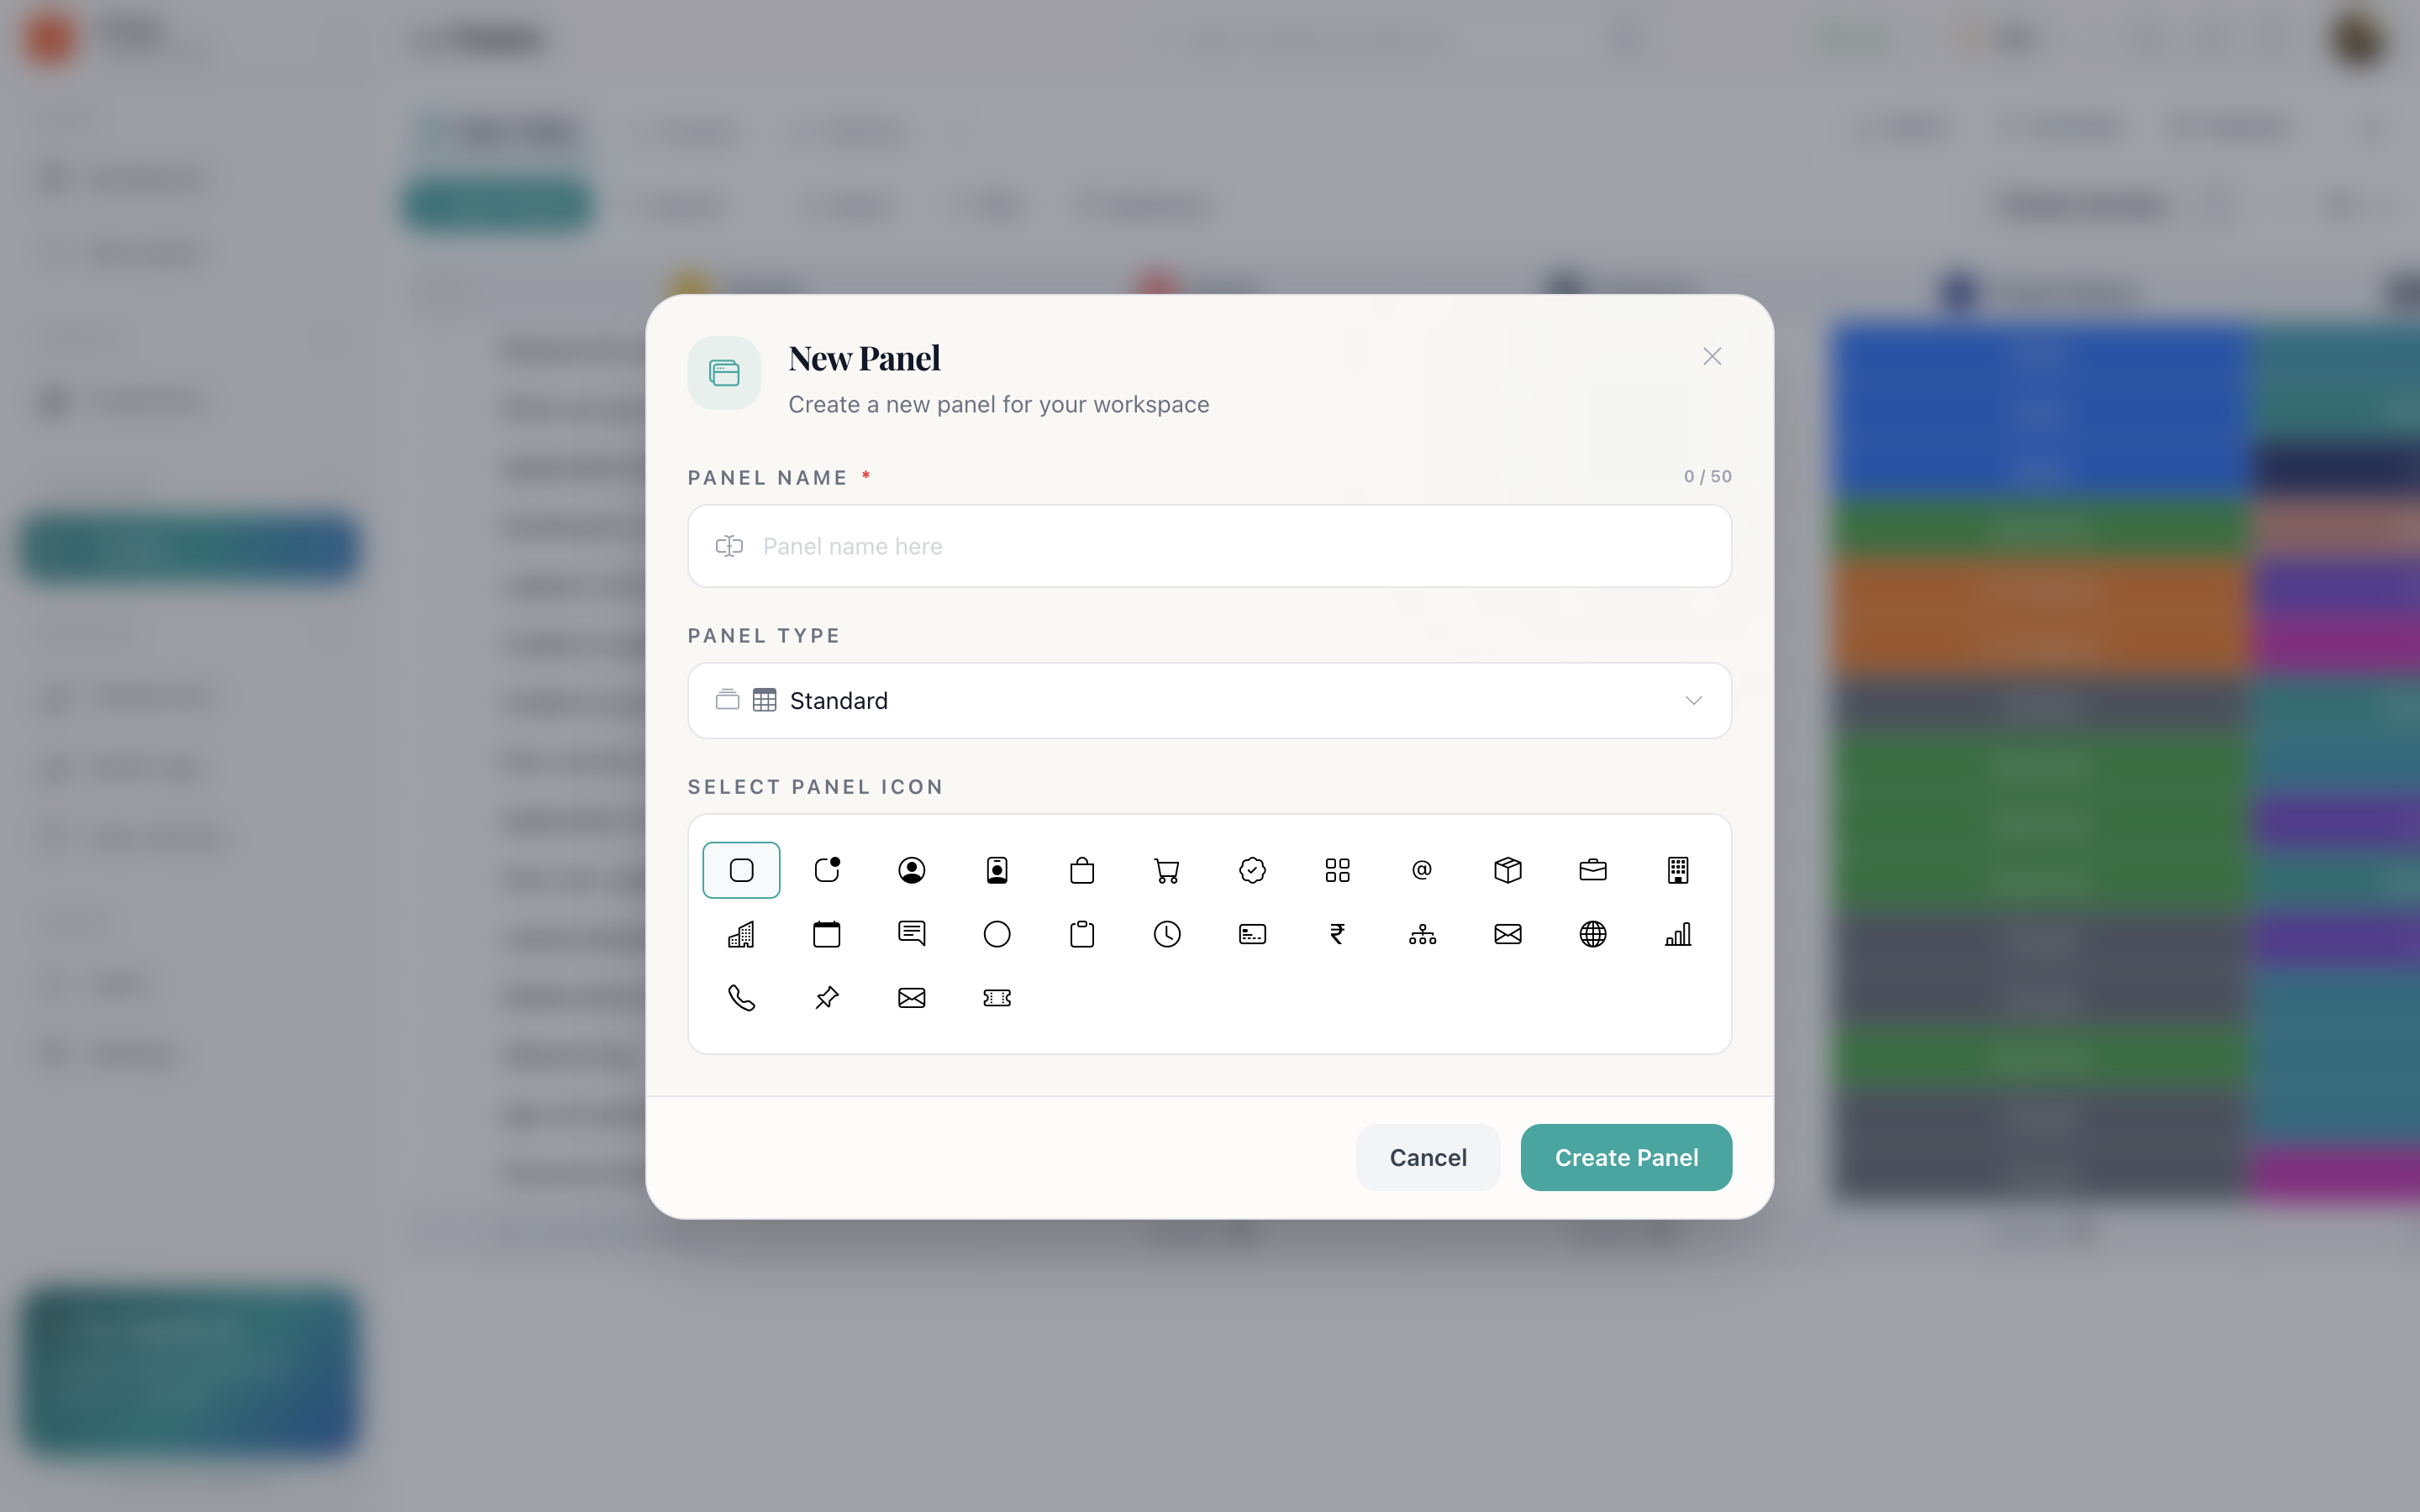
A panel is one kind of record. Its type is chosen at creation and decides the columns it starts with, the tabs it can add, and the toolbar it offers.
The five panel types
| Type | What it is for | Starts with |
|---|---|---|
| Standard | Any list: leads, orders, assets, candidates, tasks | Primary name column, Owner, Comments, Date |
| Ticketing | Requests that must be resolved | Primary, Owner, Ticket ID, Ticket Status, Category, Start Date, End Date, Comments |
| Social Chats | Conversations from connected channels | Built around the chat inbox; rows arrive from the channel rather than being typed |
| Email Campaign | Bulk sends and their results | Name, Owner, Email, Status (PENDING / SENT / FAILED), Send Count, Send Date |
| Report | System-generated analytics | Created by Cognify, not by hand. Read-only |
The type cannot be changed after creation, because the columns, automations and reports built on it assume it. If you picked wrong, create the right panel and move the rows across, see Rows and the table.
The panel toolbar
Top right of every panel, subject to your permissions:
| Button | What it does | Needs |
|---|---|---|
| Import | Bring a spreadsheet in and map its headers onto your columns | Can insert Panel Data |
| Automate | Open the automation marketplace and see what is already running | Can create / update / delete Automation |
| Integrate | Connect a mailbox, a chat channel, a webhook or an embedded app | Can use Integration |
| Panel access | Choose which members can open this panel at all | Can give access to Panel |
Report panels offer none of them: nothing there is edited by hand. Social Chats panels do not offer Import, because rows arrive from the channel.
Panel access
Roles decide what someone can do; panel access decides which panels they can see. The two work together: a role might allow deleting rows, but if the member has no access to the Salaries panel, that permission never applies there.
Open Panel access, search the member list, and toggle people in. Admins always have access and cannot be toggled out.
Panel icons
Every panel carries an icon, picked from a set covering the usual business objects, people, badges, bags, carts, boxes, briefcases, buildings, calendars, chats, clipboards, clocks, cards, currency, diagrams, envelopes, globes, charts, phones, pins and tickets. It is the fastest way to find a panel in a long sidebar, so pick something distinct.
How do I…
Create a panel: Sidebar → New panel → name it, pick an icon, pick the type → Create Panel. The columns for that type are created for you.
Rename a panel or change its icon: Hover the panel in the sidebar → ⋯ → edit → Update Panel.
Delete a panel: Sidebar ⋯ → delete, then confirm. Its rows, columns, tabs and activity go with it.
Give someone access to just this panel: Panel toolbar → Panel access → search members → toggle who is in.
Add a tab: The + at the end of the tab strip → name it → pick the tab type. See Tabs and views.